SINGER 99W start to finish

¶ Diagram, Fig. 7, shows order of operation of mechanism in Machines 99w130 to 99w132 during the cutting and stitching of a buttonhole from start to finish.

Fig. 7 99W Operation of the Machine

A -Work Clamps are closed by Clamp Closing Lever
B -Buttonhole Cutter is tripped by Clamp Closing Lever
C -Buttonhole is cut by Buttonhole Cutting Shaft
D -Buttonhole is spread by Buttonhole Cutting Shaft
E -Rapid Feed is started by Buttonhole Cutting Shaft
F -Sewing is started by Pattern Wheel Ring
G -Rapid Feed is stopped by Pattern Wheel
X -Buttonhole is stitched (indicated by solid line)
H -Sewing is stopped by Pattern Wheel Ring
I -Rapid Feed is started by Stop Motion
J -Work Clamps are opened and Spread is released by Trip Point on Work Plates
K -Rapid Feed is stopped by Pattern Wheel
L -Starting and stopping point Dotted line represents rapid feed

Fig. 8. "X-Ray" View of Buttonhole Cutter Pulley Showing Buttonhole Cutter Engaging Stud and Latch

¶ The operator should sit a little to the left of the center of the front of the machine so that the opening in the work clamps can be fully seen. This position will be found to be the most con- venient for the operator for the reason that the work is moved from left to right in the machine when passing from one button- hole to another, and also because the finger starting lever is located above the left work clamp plate. ¶ Unlock the machine by pushing the safety lock (T4, Fig. 8) inwardly. Place the work in position in the machine so that the portion in which it is desired to make the buttonhole is directly under the opening in the work clamps. ¶ Then set the two work position gauges (N3 and X3, Fig. 6) against the edge of the work and fasten them in position. ¶ Hold the work firmly in position with the hands and at the same time press down on the finger starting lever (Y3, Fig. 6). This will trip the lever (C4, Fig. 8) out of the locking notch in clamp closing stud (F4, Fig. 8). ¶ The plunger will then be held out of engagement with the cam path in the pulley (J4, Fig. 8) by latch (D4, Fig. 8) holding the locking notch in the stud (F4, Fig. 8) until the cam path is in the correct position to receive the stud, at which time the tripping cam block on the inside face of pulley (J4) will trip the lever (E4, Fig. 8), lifting the latch (D4) and allowing the stud (F4) to engage the cam path in pulley (J4), causing the clamp closing lever (D5, Fig. 8) to be depressed and the work clamps to be lowered upon the work. ¶ The stud (F4, Fig. 8) is forced inwardly, by the stud disengaging cam block mounted in the cam path of the pulley (J4, Fig. 8), under the stud lock plate (A4, Fig. 8) into locking position and held by the lever (C4, Fig. 8) in the locking notch. ¶ As the clamp closing lever returns to its starting position, the starting lever trip (U4, Fig. 10) is forced against the starting lever arm (H5, Fig. 10), which in turn actuates the buttonhole cutting starting lever (B5, Fig. 8), causing the latch (X4, Fig. 8) in the buttonhole cutting wheel to engage the loose buttonhole cutting pulley. ¶ As the buttonhole cutting wheel (G4, Fig. 8) is fastened in a rigid position on the buttonhole cutting shaft (K4,Fig. 8), the shaft is rotated when the wheel and loose pulley are locked together by the latch (X4, Fig. 8). When the button- hole cutting shaft starts to rotate, the buttonhole cutting levers are moved into action by the operating cams on the buttonhole cutting shaft, and the cutting block and knife are carried forward to cut the buttonhole. ¶ After the buttonhole cutter has cut the buttonhole, the safety latch (W9, Fig. 10) is moved beneath the starting lever trip (U4, Fig. 10) and holds it out of engagement with the starting lever arm (H5, Fig. 10). ¶ As the cutting levers return to their starting position, the spreading lever (Q4, Figs. 6 and 8) is pushed forward against the lever (R4, Figs. 6 and 8), thus spreading the work clamps and stretching the fabric taut under the needle. ¶ During the last part of the rotation of the cut- ting shaft, the rapid feed starting lever (C5, Fig. 8) is operated, causing the rapid feed to move the work clamp plates with the work to a stitching position, after which the latch (X4, Fig. 8) in the buttonhole cutting wheel is withdrawn from the loose but- tonhole cutting pulley, releasing the wheel from the pulley and stopping the rotation of the buttonhole cutting shaft. (¶ At the same time, the cutting lock cam (W5, Fig. 8) actuates the rock shaft lever (V4, Fig. 10), forcing the cutting lock (Q5, Fig. 10) beneath the starting lever trip (U4, Fig. 10), thus locking the cutting mechanism so that it cannot operate while the buttonhole is being stitched.)

Fig. 9. "X-Ray" View of Pattern Wheel Showing Tripping Points and Sewing Up First Side of Buttonhole

¶ When the work clamp plates are brought to the stitching position, the rapid feed is disengaged by the tripping point (V5, Fig. 9) on the inner side of the pattern wheel (U5, Fig. 9) com- ing into contact with the latch (W5, Fig. 9), and the stitching mechanism is started in operation by the action of the stop lever operating plate (Z5, Fig. 9) riding up the incline (Y5, Fig. 9) on the pattern wheel ring, causing the stop lever (D6, Fig. 9) to swing back out of engagement with the stop cam on the sewing pulley. ¶ The machine then stitches the buttonhole and at the completion of the stitching, the stop lever operating plate (Z5, Fig. 9) drops off at the square shoulder (Q5, Fig. 9) on the pattern wheel ring, causing the stop lever to swing in, ready to lock in the stop cam on the sewing pulley. ¶ As the interlocking slide (J7, Fig. 10) is raised by the action of the stop cam (H7, Fig. 10), the point of the latch (K7, Fig. 10) is lowered fully f inch below the end of the second rapid feed starting lever (L7, Fig. 10). As the interlocking slide (J7, Fig. 10) drops into the notch of the stop cam (H7, Fig. 10), it raises the latch (K7, Fig. 10) which in turn raises the second rapid feed starting lever (L7, Fig. 10) as it comes into contact with it, thereby starting the rapid feeding mechanism in operation to move the clamp plates back to a starting position for the next buttonhole.

Fig. 10. View of Stop Motion Showing Shaft Speeds
Fig. 6. Threading of Machine Completed

INDEX

SINGER 99W SET UP

To Set the Needle

¶ Loosen the set screw (Q7, Fig. 13) in the needle clamp and put the needle up into the clamp as far as it will go with its long groove to the rear and its eye parallel or in line with the bed of the machine, then firmly tighten the set screw (Q7,Fig 13).

Fig 13 Needle Vibrating Mechanism

To Thread the Needle

¶ Pass the thread from the unwinder down through the hole (1, Fig. 2)❶ in the upper end of the needle thread leader, through the hole (2, Fig. 2) in the lower end of the needle thread leader, from back to front under between the tension discs (3, Fig. 2)❸,

Fig. 2. Threading the Needle

up through the slotted hole in the take-up thread guide (4, Fig. 2)❹, down through the forward hole (5, Fig. 2)❺, down through the hole in the end of the thread take-up (6, Fig. 2)❻, through the hole (7, Fig. 2)❼ in the top of the needle thread guide pin, under the needle thread pull-off (adjustable) (9, Fig. 2)❽ and down through the hollow needle bar (8, Fig. 2)❾ (inserting the thread- ing wire furnished with the machine up into the needle bar from below to pull the thread through), pass the thread from back to front or toward you through the eye of the needle, as shown in Fig. 6.

Note: ¶ When it is necessary to place the thread unwinder at the side of the machine, the needle thread leader (1, Fig. 2) at the top of the machine should be turned in the direction of the unwinder and the thread should be passed through the hole (A, Fig. 2) instead of the hole (2, Fig. 2).

To Thread the Looper

Fig 6 Threading of Machine Completed

¶ Unhook the two springs (K3 and Z3, Fig. 6) and swing out the two work clamp plates (O3 and W3, Fig. 6), then press in the buttons (S3 and U3, Fig. 6) and at the same time draw the bed end cover (T3, Fig. 6) toward you to remove it from the machine.

Fig. 3.Threading the Looper Also Showing Threading the Cord

¶ Pass the thread from the unwinder through the lower brass tube (1, Figs. 3 and 10)❶ which is attached to the right side of the bed of the machine (using the threading wire furnished for the purpose), then through the lower hole (2, Fig. 3)❷ in the bed of the machine at the front of the brass tube, through the wire thread eyelet (3, Fig. 3)❸, down, under and from right to left between the tension discs (4, Fig. 3)❹, from right to left through the right hand self-threading guide slot (5, Fig. 3)❺ in the thread controller bracket, through the slot in the thread controller (6, Fig. 3)❻ and through the left hand self-threading guide slot (7, Fig. 3)❼ in the thread controller bracket. Pass the threading wire (R2, Fig. 3) between the throat plate (O2, Fig. 3)❽ and right hand loop retainer (N2, Fig. 3)❾ down through the hollow loop retainer driving bar (8, Figs. 3 and 4). Hook the thread on the end of the wire and draw it up through the hollow bar (8, Figs. 3 and 4), then, using the tweezers furnished for the purpose, pass the thread from the hollow bar (8)① up through the slot (9, Fig. 4) ②in the heel of the looper, as illustrated in Fig. 4, down through the centre hole (10, Fig. 4) ③ in the looper and up through the hole (11, Fig. 4)④ in the point of the looper, then up through the large needle hole (12, Fig. 4)⑤ in the throat plate.

Fig. 4. Threading the Looper

To Thread the Cord

¶ The work clamp plates having been swung outward and the bed end cover removed, pass the cord from the unwinder through the upper brass tube (V, Figs. 3 and 10)❶ which is attached to the right side of the bed of the machine (using the threading wire furnished for the purpose), then pass the cord under and between the tension discs (S, Fig. 3)❷ adjacent to the cord tube, through the hole (P, Figs. 3 and 5) ❸ in the right hand side of the bed of the machine, up through the hole (G3, Fig. 5) ❹ in the cord controlling spring, thence from back to front through the cord hole (H3, Fig. 5) ❺ near the center of the throat plate, the cord leading toward the operator as shown in Fig. 5. ¶ Then swing the work clamp plates back into place and hook the springs (K3 and Z3, Fig. 6) ❻ to hold the plates in position. ¶ Also replace the bed end cover, then clamp the ends of the cord and looper thread in the thread clamps (P3 and R3, Fig. 6)❼.

Fig. 5. Threading the Cord

INDEX

SINGER 99W INSTRUCTION

To Set Up the Machines

See Form 1875w, instructions for setting up machines on power tables with driving equipments.

Speed

The maximum speeds recommended for the shafts in Machines 99w130 to 99w132 are as follows:
Buttonhole Cutting Shaft – 185 to 200 revolutions per minute.
Stop Motion Shaft – 750 to 800 revolutions per minute.
(This will drive the arm shaft at a speed of from 1500 to 1600 revolu- tions per minute.)

The table shaft pulley sent out with the machine for driving the sewing mechanism and buttonhole cutting mechanism is made in various sizes, as listed below, for different speeds of table shafts. Care must therefore be taken to see that the table shaft pulley used is of the correct size to drive the stop motion shaft (Fig. 10) at a speed of 750 to 800 revolutions per minute and the buttonhole cutting shaft (K4, Fig. 8) at a speed of 185 to 200 revolutions per minute. The correct speed of the stop motion shaft should be ascertained by placing a speed indicator at the gear end of the rapid feed crank shaft. The speed of the rapid feed crank shaft should be about 1250 to 1290 revolutions per minute. See Fig. 10.

Shaft Pulleys

Safety Lock

To prevent accidental starting of the machine when threading, oiling or making adjustments, the machine can be locked out of operation by pushing the safety lock (T4, Fig. 8) under the start- ing rod (S4, Fig. 8), thus holding up the starting rod so that it cannot be depressed to start the machine. When finished thread- ing, oiling or making adjustments, it will be necessary to unlock the machine by swinging the safety lock forward from under the starting rod, before the machine can be started in operation.

Needles

Needles for Machines 99w130 to 99w132 are of the following Class and Variety Nos.:

Class & VarietyDescriptionStyle of PointSizes
142 x 1for ClothRound13, 14, 15, 16, 17, 18, 19
142 x 5for ClothRound10, 12, 13, 14, 15, 16, 17, 18, 19, 21
142 x 6for KhakiSpear Wedge17, 19
142 x 8for LeatherReverse Spear17, 18, 19

¶ The size of the needle to be used should be determined by the size of the thread which must pass freely through the eye of the needle. The successful use of the machine will be interfered with if rough or uneven thread is used, or if it passes with difficulty through the eye of the needle. ¶ Orders for needles must specify the quantity required, the size, also the class and variety numbers separated by the letter x.

The following is an example of an intelligible order:
“50 No. 17, 142×1 Needles,” if for Cloth.
“50 No. 17, 142×5 Needles,” if for Cloth.
“50 No. 17, 142×6 Needles,” if for Khaki.
“50 No. 17, 142×8 Needles,” if for Leather.

¶ The best stitching results will be obtained in using the needles furnished by the Singer Sewing Machine Company.

To Determine the Proper Materials to Use forButtonholes which are Cut Before Sewing

¶ Stitch a buttonhole in the material to be tested, using the same lining and materials in the same layers and positions that they will occupy in a garment. Turn the slit of the buttonhole outward and grasp the purl between the thumb nail and the fore- finger and force the purl with the thumb nail toward the edge of the buttonhole. Repeat this several times, increasing the strain, and if the stitches (or purl) give or slide toward the edge of the slit it indicates that the material is not suitable for buttonholes which are cut before sewing. The thicker the material is, the wider the bight should be in the depth stitch from the button- hole slit.

Thread and Cord

¶ Either right or left twist thread may be used in the needle and looper.
When stitching buttonholes with silk thread, a heavier thread should be used in the looper than in the needle, for example: use B silk in the looper with A silk in the needle. ¶ When stitching buttonholes with cotton thread, regular but- tonhole thread is recommended. Harder finish thread should always be used in the looper than in the needle. This will facili- tate the formation of perfect stitches in the buttonhole. ¶ For the cord, medium size buttonhole cord will give the best results.

INDEX

SINGER 99W132 DESCRIPTION -INST

EXTRA LONG TRAVEL MACHINE

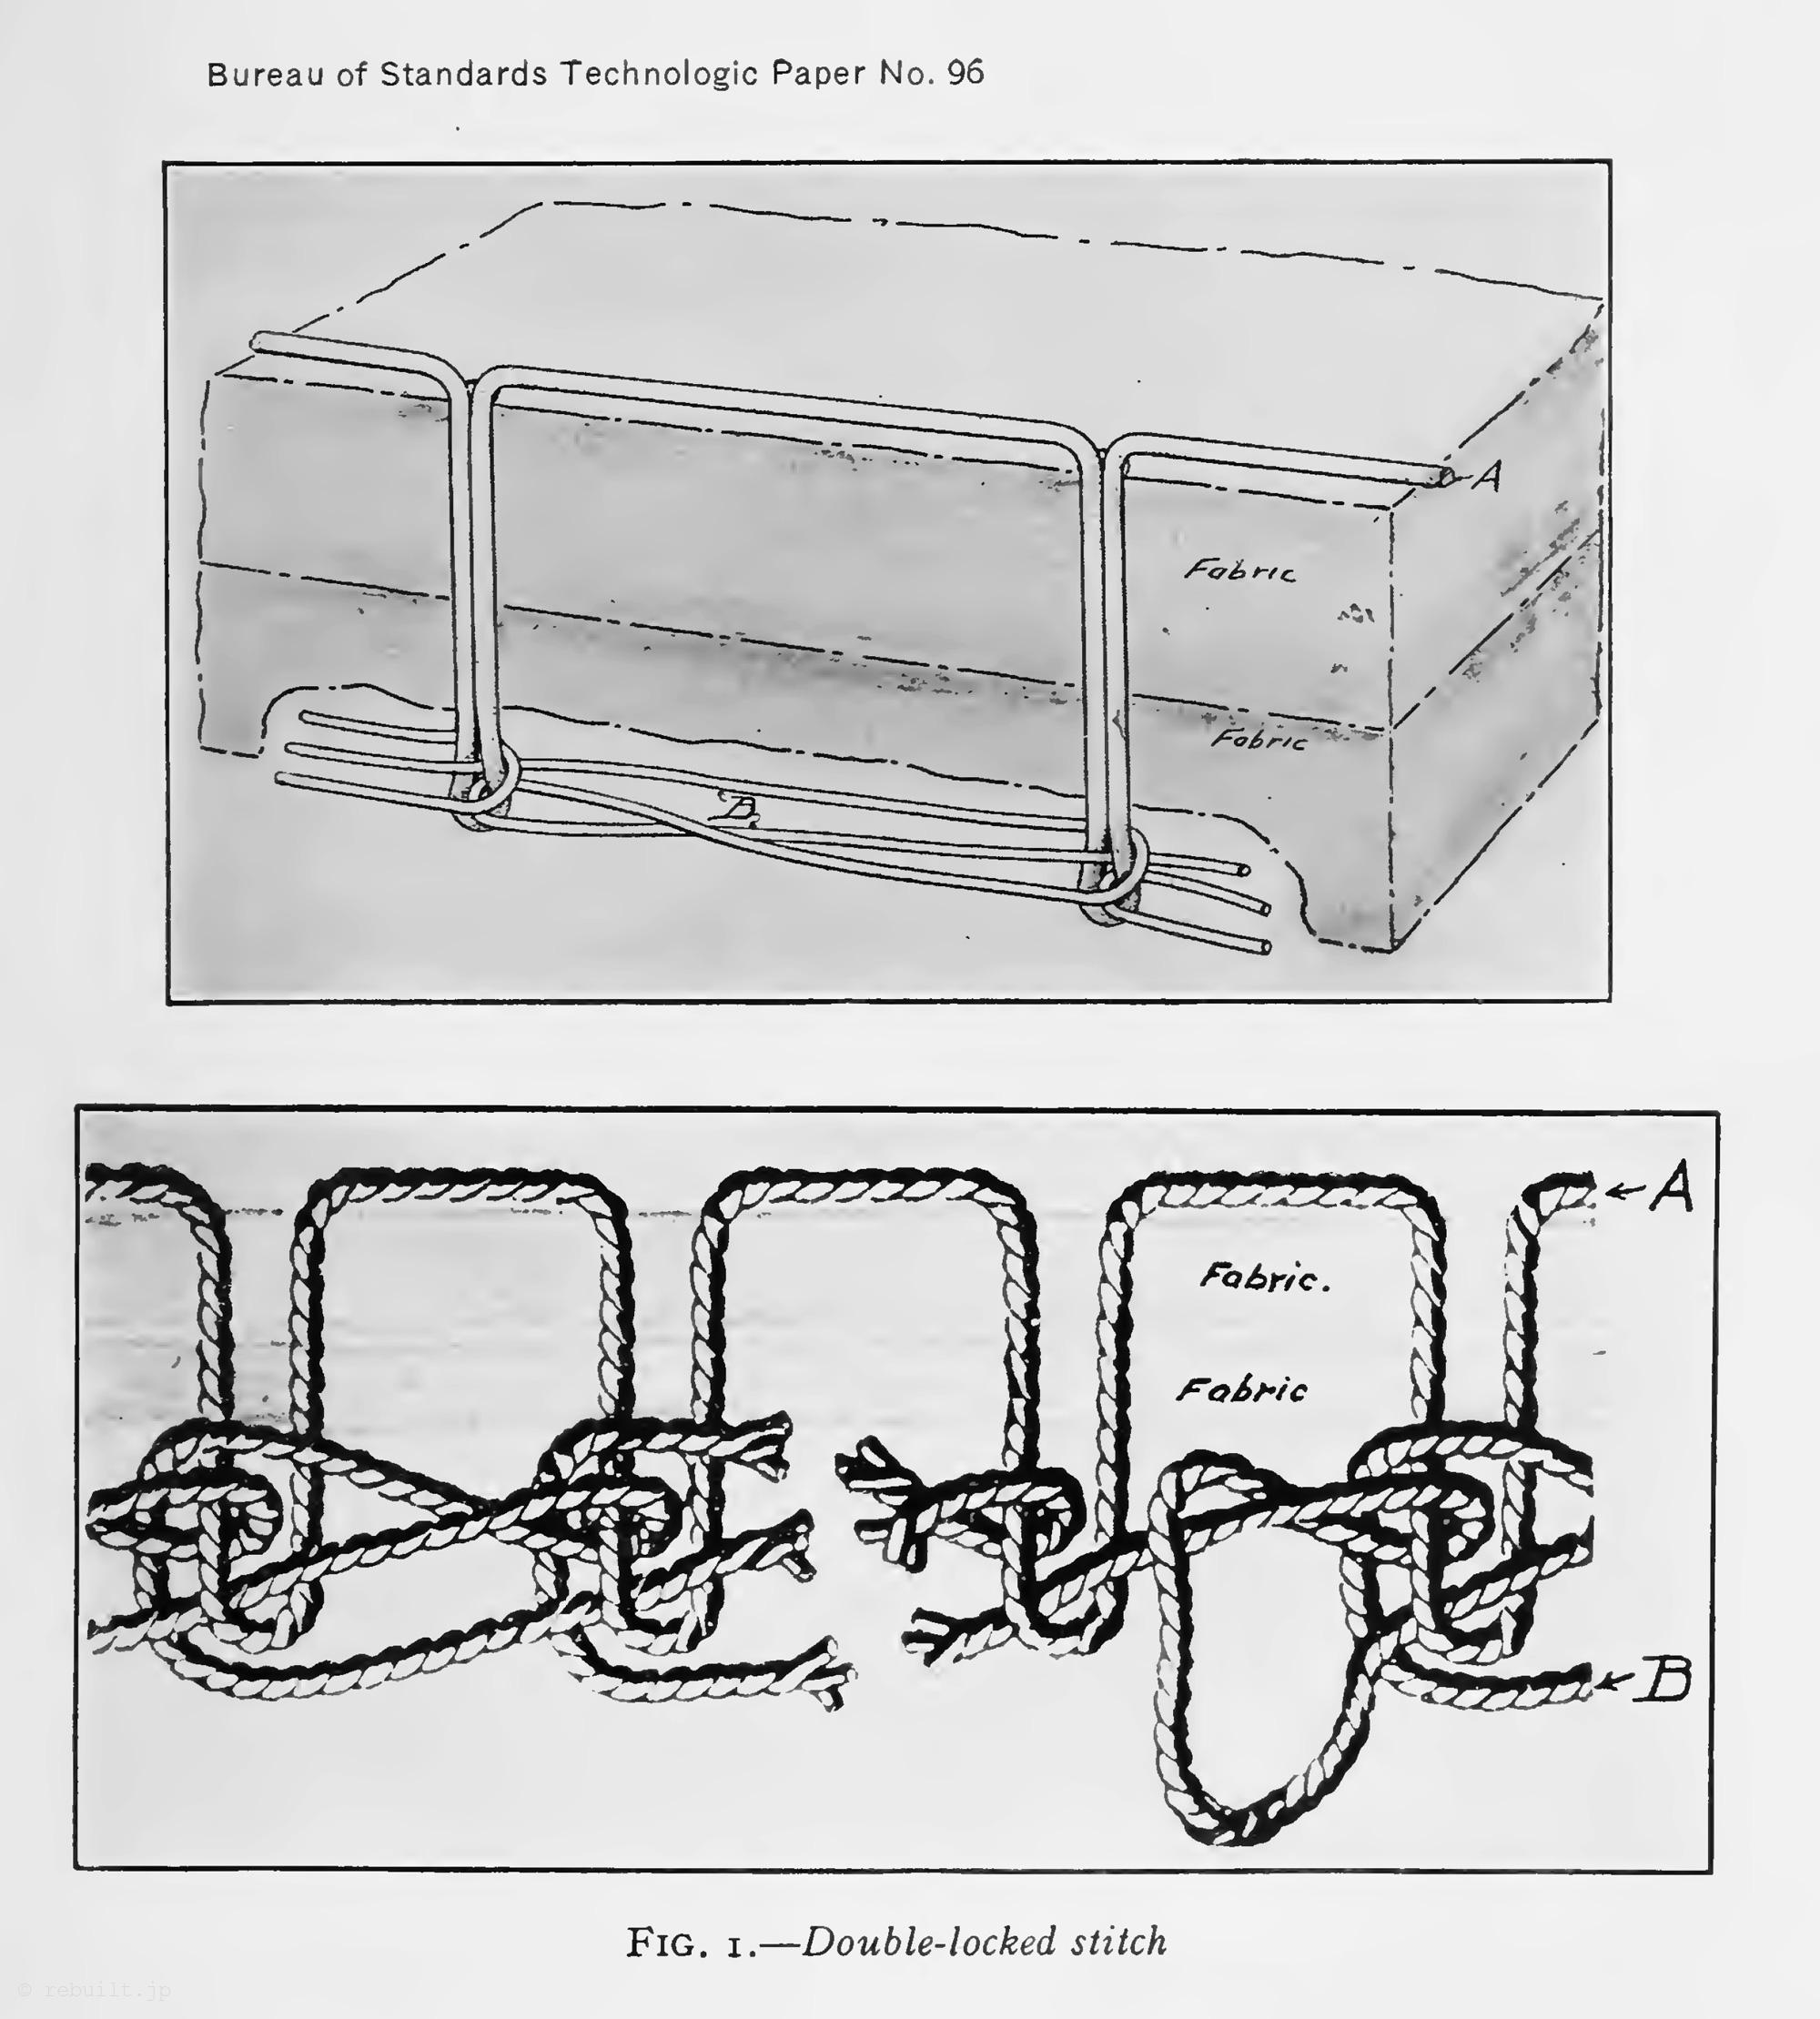
Machine 99w132 (extra long travel) has a capacity to sew 3/4″ to 2″ and cuts straight end buttonholes or eyelet-end buttonholes with large or medium eye without bar 3/4″ to 1-31/32″ and cuts straight end buttonholes or eyelet-end buttonholes with large or medium eye with taper bar 3/4″ to 1-3/4″, the bar being adjustable from 1/8″ to 3/8″ for 3/4″ to 1-5/8″ buttonholes and from 1/8″ to 1/4″ for 1-3/4″ buttonhole. For overcoats, sack coats, etc. ¶ The machine is intended for making buttonholes in closely woven fabrics, the buttonhole being automatically cut before stitching. Makes buttonholes with double chain stitch (Singer Buttonhole Stitch) and lays a reinforcing cord under the edge of the flat purl. ¶ A change in length and shape is made by substituting a quick detachable Pattern Wheel, also Cutting Block and Knife. ¶ Unless otherwise ordered, this machine will be fitted to make a 13 inch eyelet-end buttonhole, with large size eye, without bar. ¶ Extra Pattern Wheels, Cutting Blocks and Knives, as listed below and on the following page, can be furnished for use on this variety of machine, for which additional charge will be made.

℔ Equipments for making eyelet-end buttonholes with medium size eye, without bar:

℔ Equipments for making eyelet-end buttonholes with large size eye, without bar:

℔ Equipments for making straight buttonholes :

℔ Equipments for making eyelet-end buttonholes with medium size eye, with adjustable taper bar:

℔ Equipments for making eyelet-end buttonholes with large size eye, with adjustable taper bar:

INDEX

SINGER 99W131 DESCRIPTION -INST

MEDIUM TRAVEL MACHINE

Machine 99w131 ( medium travel ) has a capacity to sew 5/8″ to 1-1/8″ and cuts straight end buttonholes or eyelet-end buttonholes with large or medium eye, without bar 5/8″ to 1-3/32″ and with bar 5/8” to 1″, the bar being adjustable from 1/8″ to 3/8″ for ” to 3/4″ button- holes, from 1/8″ to 1/4″ for 7/8″ buttonhole and with 1/8″ bar for 1″ buttonhole. for coats, vests, trousers, etc.¶ The machine is intended for making buttonholes in closely woven fabrics, the buttonhole being automatically cut before stitching. Makes buttonholes with double chain stitch (Singer Buttonhole Stitch) and lays a reinforcing cord under the edge of the flat purl. ¶ A change in length and shape is made by substituting a quick detachable Pattern Wheel, also Cutting Block and Knife. ¶ Unless otherwise ordered, fittings on this machine will make without bar 1 inch eyelet-end buttonhole with large size eye and inch straight buttonhole with stitching suspended at eye end. ¶ Extra Pattern Wheels, Cutting Blocks and Knives, as listed below and on the following page, can be furnished for use on this variety of machine, for which additional charge will be made.

℔ Equipments for making eyelet-end buttonholes with medium size eye, without bar:

℔ Equipments for making eyelet-end buttonholes with large size eye, without bar:

℔ Equipments for making straight buttonholes :

℔ Equipments for making straight buttonholes with or without rapid feed at eye end or eyelet-end with large size eye as desired.

*This size and style of buttonhole is made with combination pattern wheel, the cutting block and knife must be used for the particular style of buttonhole stitched. † See page 59.

℔ Equipments for making eyelet-end buttonholes with medium size eye, with adjustable taper bar:

℔ Equipments for making eyelet-end buttonholes with large size eye, with adjustable taper bar:

Note: ¶ Straight buttonholes with taper bar can be made with pattern wheels Nos. 256739 to and including 256745 by removing disengaging block 253444 and changing cutting block and knife.

INDEX